 |
| Finished earring holder |
I have been admiring the wire in a frame jewelry holders on Pinterest for quite a while and with the banging (new roof) and rain (no banging but no outside either) I sat down and thought about what I needed in a jewelry holder. All my earrings have been in a little pocketed pouch since we left Vancouver in the RV 6 months ago. Having to dump it upside down last time to find a pair of my favorites it was time for an organization solution.
 |
| Gathering the tools and materials |
 |
| Twisting for a basic shape |
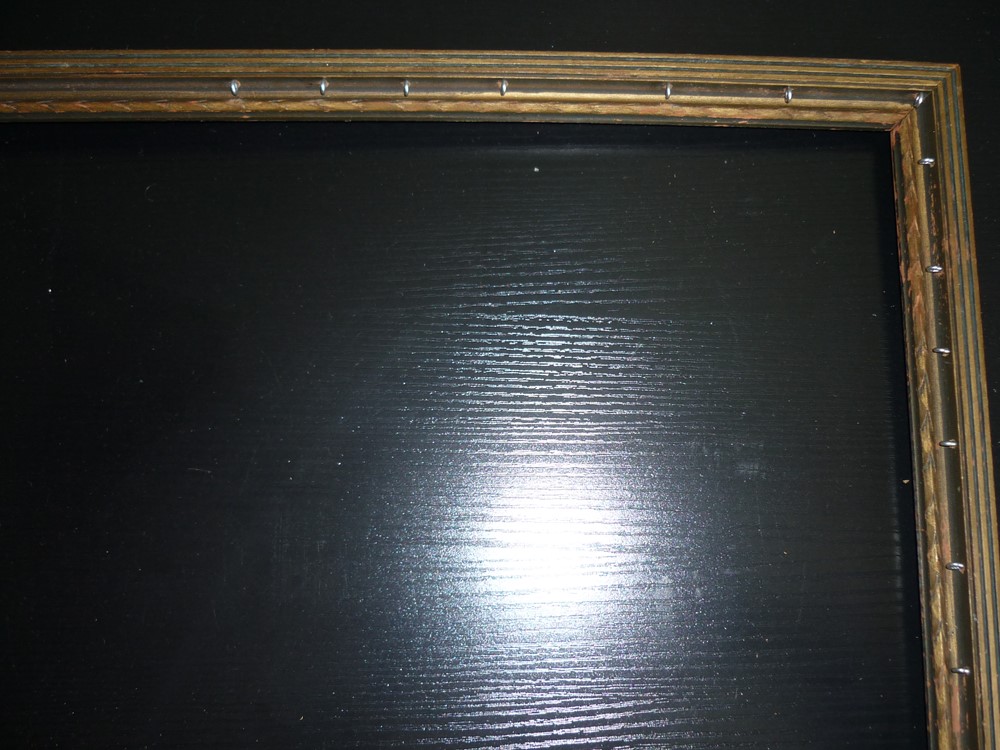
The frame I found in our new old house was dusty and stinky but solid. A good scrubbing and then left to dry over night.
Once I gathered 12 long (never long enough) strands of wire; twisting them into a basic shape helped to decide where to place the 20 small screw eyes along the frame.
Never being one to pre-design most of my crafts (not all) as I like the fill in as you need approach to most things.
I eye balled the placement of the eyes in the frames groove hopping to hide them a bit.
 |
| a little tricky because of the small size eyes. |
It was a little tricky adding the tiny eye screws with my fat fingers but a pair of flat nosed pliers came in handy for holding them in the correct place. I also pre-made holes with a awl.
 |
| They all managed to be placed |
Once all of the eyes were placed it was a matter of twisting and wrapping the copper wire into shape. I used a 18 gage copper coated wire that I bought for testing jewelry making. I have lots and it is very soft to work with.
I don't particularly like the wire as it marks and shows the aluminum core when nicked or bent to much. It was perfect for this project as I was using what was on hand and the hanger is just for me.
Once all the eyes were placed it was just a matter of placing the wire and start twisting.
 |
| Making loop as I go to hang hooks on. |
I twisted 2 strands of wire together for the roots of the tree adding loops to hold jewelry as I twisted. Then wrapped them trough and around the eyes to hold in place.
When I needed to weave in a new and longer strand of wire I made sure to leave a long tail to coil or make larger leaves.
 |
| The basic shape. |
It was fun to coil and twist and make loops and leaves. Trying to space out the leaves and coil to maximize the empty space and still keep the over all look random can sometimes be a little difficult.
It turned out wonderful..
 |
| Lots of places to place things. |
 |
| Lots of room to add more. lol |
It was a fun project to do and I might just find another frame to make one for necklaces and other bling. I'll keep you posted.