 |
| This is the little stool I started with. Unsanded and rough. |
I removed the awful vinyl cover and removed the top from the legs. Gave the wooden top a good sanding and scrubbed the legs with steel wool and cleaner.
 |
| What a difference it made. A bit of muscle but necessary. |
Priming the wood with primer paint made all the difference in the world. It brightened the resin after drying.
 |
| All primed and elevated with a few little cups. |
The hardest thing is waiting for the primer to dry. Patience has never been one of my best virtues.
After a few hours it was fun time. Mixing the resin and deciding on colors and best of all doing the pour.
 |
| Mixed more green this time to change it up just a bit. |
Instead of a dirty pour (all colors poured into one cup) I poured the colors individually onto the table top.
 |
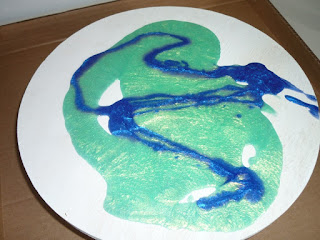
| Base color a beautiful sea green. |
Starting with the base or primary color I poured trying to be a bit random and leaving white areas. ( Just a note: I would pour a thinner pour next time as the base color kind of blobbed)
Then tricked the next color on top and around.
 |
| Trying to be random |
And trickled the remainder colors randomly over the top again.
 |
| Already looks cool. |
Then picking up and tilting the table top around and around until the top was all covered. Making sure that the pour ran down the edges to finish the piece.
Covered the piece with a clean plastic bin and let it harden.
About 20 minutes into the hardening stage I used a paint stick to clean off the underside drip and because the edges where so thin I used the overflow to re-coat the edges.
Another 20 minutes and I repeated the process even though the resin was getting very thick. I was glad I did this as the finished result is beautiful.
 |
| Very cool. You can see small cells but next time I will try for larger ones. |
 |
| Even going back twice to add to the edges they did not come out as thick or colorful as I would have liked. |
 |
| Very happy with the end result of my second resin experiment. |
No comments:
Post a Comment