For my first dirty pour I think it turned out pretty good. There are definitely a few does and don't to keep in mind.
1.) make sure that the piece is elevated enough that you can clean off the drips about an hour after you cover your piece.
 |
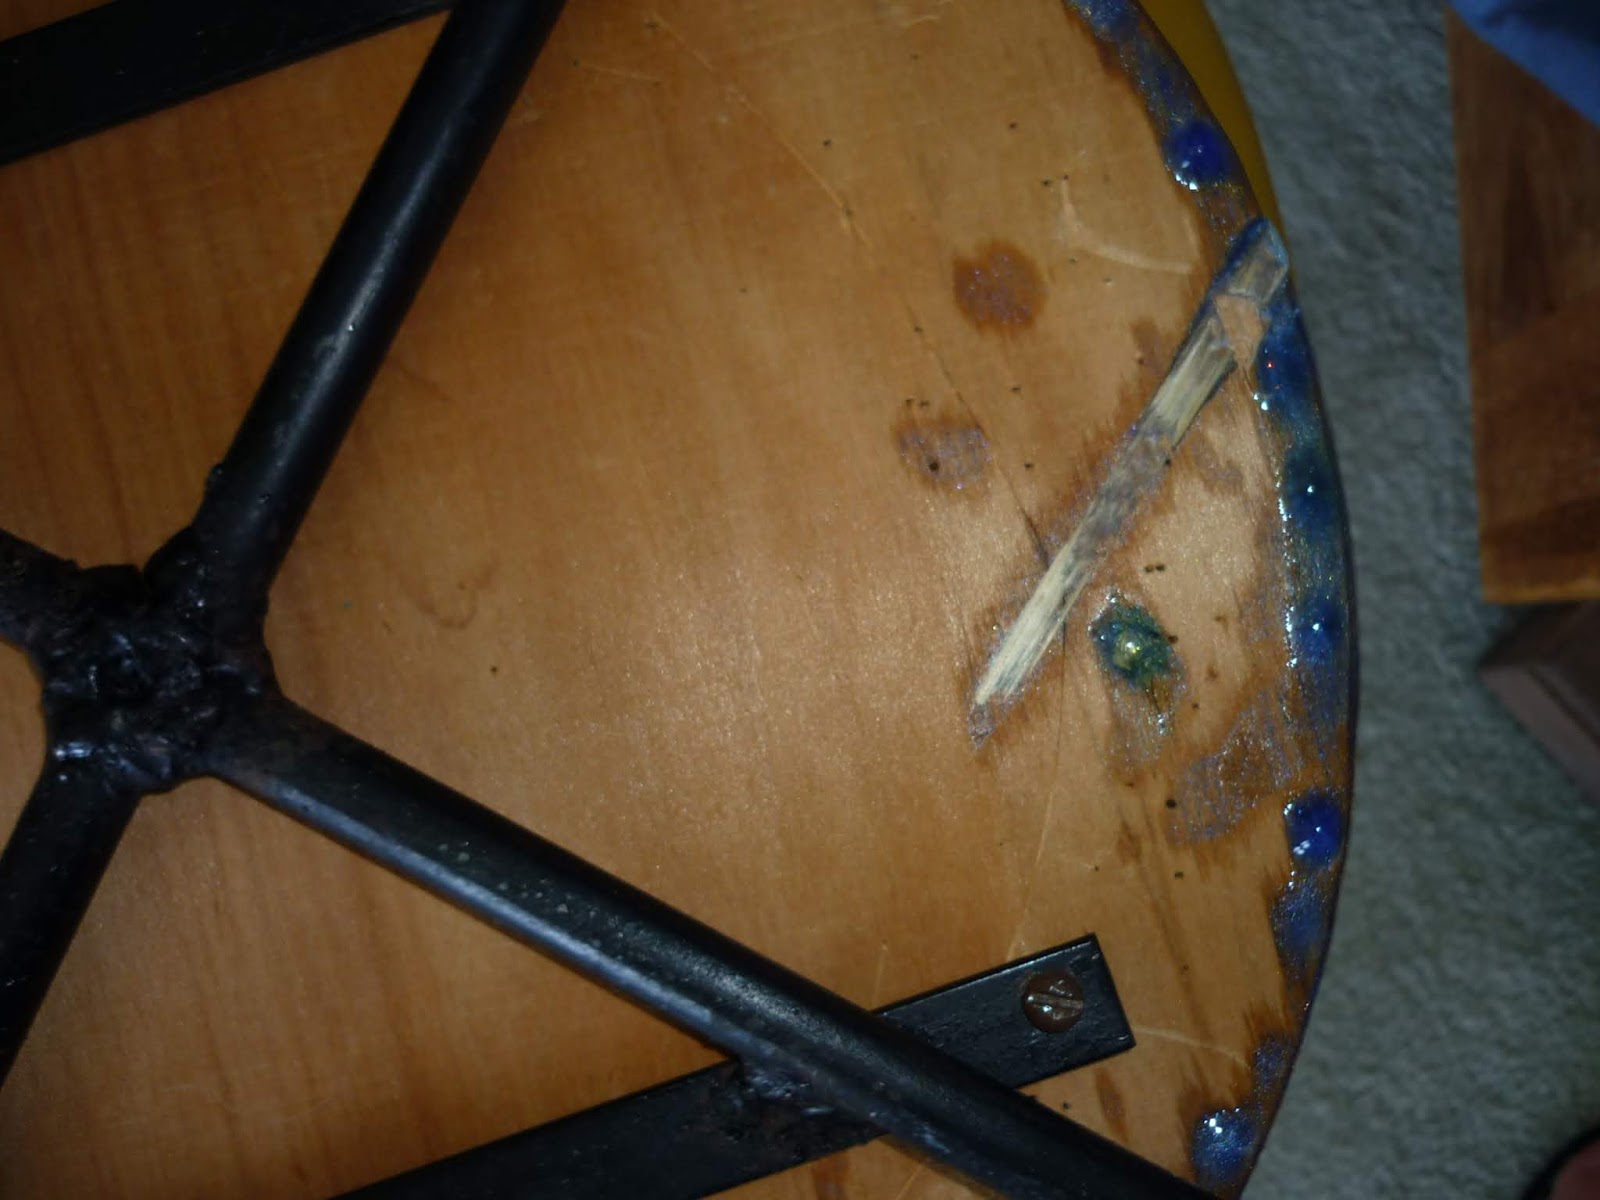
even though the drips are on the underside it would look better
to have cleaned them up before they hardened. |
2.) make sure that whatever you use to elevate the piece goes into the center. The sticks that I used adhered to underside and I had quite the time cutting them off this morning.
 |
| Not a great finished look and I will not make that mistake again. |
3.) Make sure your piece is well sanded and next time I will paint or clean it up well. You can see the wood grain and the rough edges of the wood. The resin was to clear to cover up all the little imperfections. Although that may be an advantage in the right application.
 |
| You can feel the un-sanded edges. |
All in all it turned out beautiful and I am looking forward to doing another fixing the mistakes I made on this one. I looks great between the morning chairs in the sitting room and a perfect size to hold a couple of coffees.
 |
| Looks great next to the new peacock chairs. |
 |
| A fun and pretty side table. |


No comments:
Post a Comment