Showing posts with label Newellton NS. Show all posts

Wednesday, 9 October 2019

Moved to Saint John

It is hard to believe that it has been over a year since updating this blog.  Many things have happened but the best is the move to Saint John.
Over the past year we finished the house on Cape Sable Island and how wonderful to see the old girl with a face lift. A lot of hard work but well worth the effort (even though my back did not think so on some days).
Fun stenciling the floors.

Bright and shiny new cedar shakes.

Quite an improvement.


But as with everything time moves on as did my son Tyler and I.  We ended up spending way more on the house than expected and reality set in.  Time to get a job and like Tyler said " I am so looking forward to being able to order in a pizza delivery". 
One of the first things we did once we moved to Saint John. lol

We bought a nice smaller home in great shape and although there are things that need to be updated nothing required is immediately.  It has a beautiful back yard and lots of garden potential.  Wait until spring!

Our new house on Manawagonish Rd,
In the past month of unpacking, Hanging pictures and opening boxes that have not been open since we left Vancouver in the motor-home, I have managed to set up my craft corner and am back to having fun making things again. 
Organized chaos.
So I'm back!!  Yeah.  Get ready for regular updates.  Posts on quilting (joined the local quilt guild - Marco Polo Quilt Guild), jewelry making (have a table at the Cedar Crest Gardens Christmas Market Dec 7 & 8), and gardening once spring rolls around.

It is lovely to be home and back to being creative, I've missed it.


Saturday, 25 August 2018

New Store Site

Very exciting!! Tyler started me a new store front in Etsy.  He's been working hard at taking new photos and moving them all over in hope of selling a few of my trinkets.

Twisted Resineers Etsy store 
We are also looking into finding a few markets in the local area of Barrington Passage or close by.  In the mean time I'm having fun making things and in the next blog post will do an acrylic pour for you.  Dirty pours are really fun and are way too cool.  In the mean time here are a few of the latest jewelry creations. 
Green Glass Copper with rose bead.
I've been having fun trying to imitate green amber.  Out collecting bugs, moss and lichen to add to the resin.
Then pouring my own beads.  They are very interesting and really hard to tell the difference between the two.


This beautiful blown glass cabochon came from the Fernhill Glass Company in Astoria, OR.  

More hand poured resin beads.  I love making my own beads. They are unique and they always turn out a little different with each pour. 

Tuesday, 7 August 2018

Rain Chains

I've been looking at making rain chains for a few months now. Checking out all the cool rain chains on Pintrest and other sites. 
See Tyler working away in the background.

Deciding on 2 different types just for fun.  One out of bottles and one out of zinc strips left from the roofing.  For the bottle chain we bought a bottle cutter and I made copper chains from recycled copper grounding wire. 
Ginger beer bottles and copper chain.
The leaf rain chains took a little more thought and prep work to make.  I made a leaf shape template out of an recycle plastic container and marked and cut the shapes out of the zinc strip.

simple leaf shape

marked on the zinc strip

Adding a hole at the top of the leaf and pinching it just a bit.  Then cut copper wire to slip through the hole and use as a hanger on the copper chain.

rough measure

a little curl to hold it in place

slip through the hole

Make the chain links by wrapping the wire around a broom handle many times.  Then cut out the individual chains to link together.

Lots of wrapping

clip them into jump rings

link them together to make a chain.
I then twisted the leaf wire onto every second chain and there you have it.  A home made rain chain.  

Only another 8 feet to go.

They are going to look so great on the corners of the house when we get the gutters back on.


Sunday, 1 July 2018

Earring Holder

Finished earring holder

I have been admiring the wire in a frame jewelry holders on Pinterest for quite a while and with the banging (new roof) and rain (no banging but no outside either) I sat down and thought about what I needed in a jewelry holder.  All my earrings have been in a little pocketed pouch since we left Vancouver in the RV 6 months ago.  Having to dump it upside down last time to find a pair of my favorites it was time for an organization solution.


Gathering the tools and materials
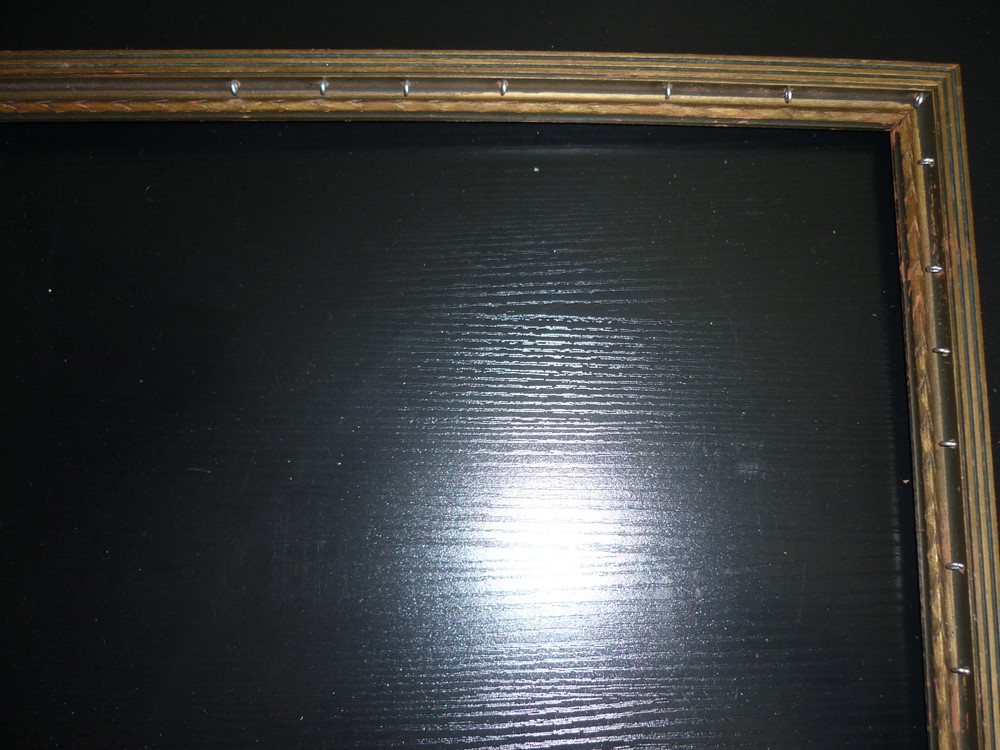
Finding and cleaning a old picture frame, pulling out the copper wire, tools and a handful of small screw eyes (20), I set to work.

Twisting for a basic shape


The frame I found in our new old house was dusty and stinky but solid. A good scrubbing and then left to dry over night. 

Once I gathered 12 long (never long enough) strands of wire; twisting them into a basic shape helped to decide where to place the 20 small screw eyes along the frame.

Never being one to pre-design most of my crafts (not all) as I like the fill in as you need approach to most things.

I eye balled the placement of the eyes in the frames groove hopping to hide them a bit.
a little tricky because of the small size eyes.


It was a little tricky  adding the tiny eye screws with my fat fingers but a pair of flat nosed pliers came in handy for holding them in the correct place.  I also pre-made holes with a awl.


They all managed to be placed


Once all of the eyes were placed it was a matter of twisting and wrapping the copper wire into shape.  I used a 18 gage copper coated wire that I bought for testing jewelry making.  I have lots and it is very soft to work with. 


I don't particularly like the wire as it marks and shows the aluminum core when nicked or bent to much.  It was perfect for this project as I was using what was on hand and the hanger is just for me. 

Once all the eyes were placed it was just a matter of  placing the wire and start twisting.


Making loop as I go to hang hooks on.


I twisted 2 strands of wire together for the roots of the tree adding loops to hold jewelry as I twisted.  Then wrapped them trough and around the eyes to hold in place. 

When I needed to weave in a new and longer strand of wire I made sure to leave a long tail to coil or make larger leaves.

The basic shape.


It was fun to coil and twist and make loops and leaves.  Trying to space out the leaves and coil to maximize the empty space and still keep the over all look random can sometimes be a little difficult.

It turned out wonderful..
Lots of places to place things.
Lots of room to add more. lol

It was a fun project to do and I might just find another frame to make one for necklaces and other bling.  I'll keep you posted.

Sunday, 17 June 2018

Resin Pour Table 2

I decided to be a little more accurate with the next accent table resin pour.  This time taking the time to sand, primer paint and do a individual cup pour rather than a dirty pour.
This is the little stool I started with.  Unsanded and rough.

I removed the awful vinyl cover and removed the top from the legs.  Gave the wooden top a good sanding and scrubbed the legs with steel wool and cleaner.

What a difference it made. A bit of muscle but necessary. 


Priming the wood with primer paint made all the difference in the world.  It brightened the resin after drying.

All primed and elevated with a few
 little cups.


The hardest thing is waiting for the primer to dry.  Patience has never been one of my best virtues.

After a few hours it was fun time.  Mixing the resin and deciding on colors and best of all doing the pour.

Mixed more green this time to change it up just a bit.
I added a spray of 3-1 silicone lubricant to the main color as well.  This should create a few nice cells in the resin.  So I've read.

Instead of a dirty pour (all colors poured into one cup) I poured the colors individually onto the table top. 


Base color a beautiful sea green.


Starting with the base or primary color I poured trying to be a bit random and leaving white areas.  ( Just a note: I would pour a thinner  pour next time as the base color kind of blobbed)

Then tricked the next color on top and around.


Trying to be random 

And trickled the remainder colors randomly over the top again.


Already looks cool.

Then picking up and tilting the table top around and around until the top was all covered.  Making sure that the pour ran down the edges to finish the piece.

Covered the piece with a clean plastic bin and let it harden.

About 20 minutes into the hardening stage I used a paint stick to clean off the underside drip and because the edges where so thin I used the overflow to re-coat the edges. 

Another 20 minutes and I repeated the process even though the resin was getting very thick.  I was glad I did this as the finished result is beautiful.

Very cool.  You can see small cells but next time I will try for larger ones.


Even going back twice to add to the edges they did not
come out as thick or colorful as I would have liked.


Very happy with the end result of my second resin experiment.


Monday, 4 June 2018

Dirty Resin Pour update

For my first dirty pour I think it turned out pretty good.  There are definitely a few does and don't to keep in mind.

1.) make sure that the piece is elevated enough that you can clean off the drips about an hour after you cover your piece.

even though the drips are on the underside it would look better
to have cleaned them up before they hardened.

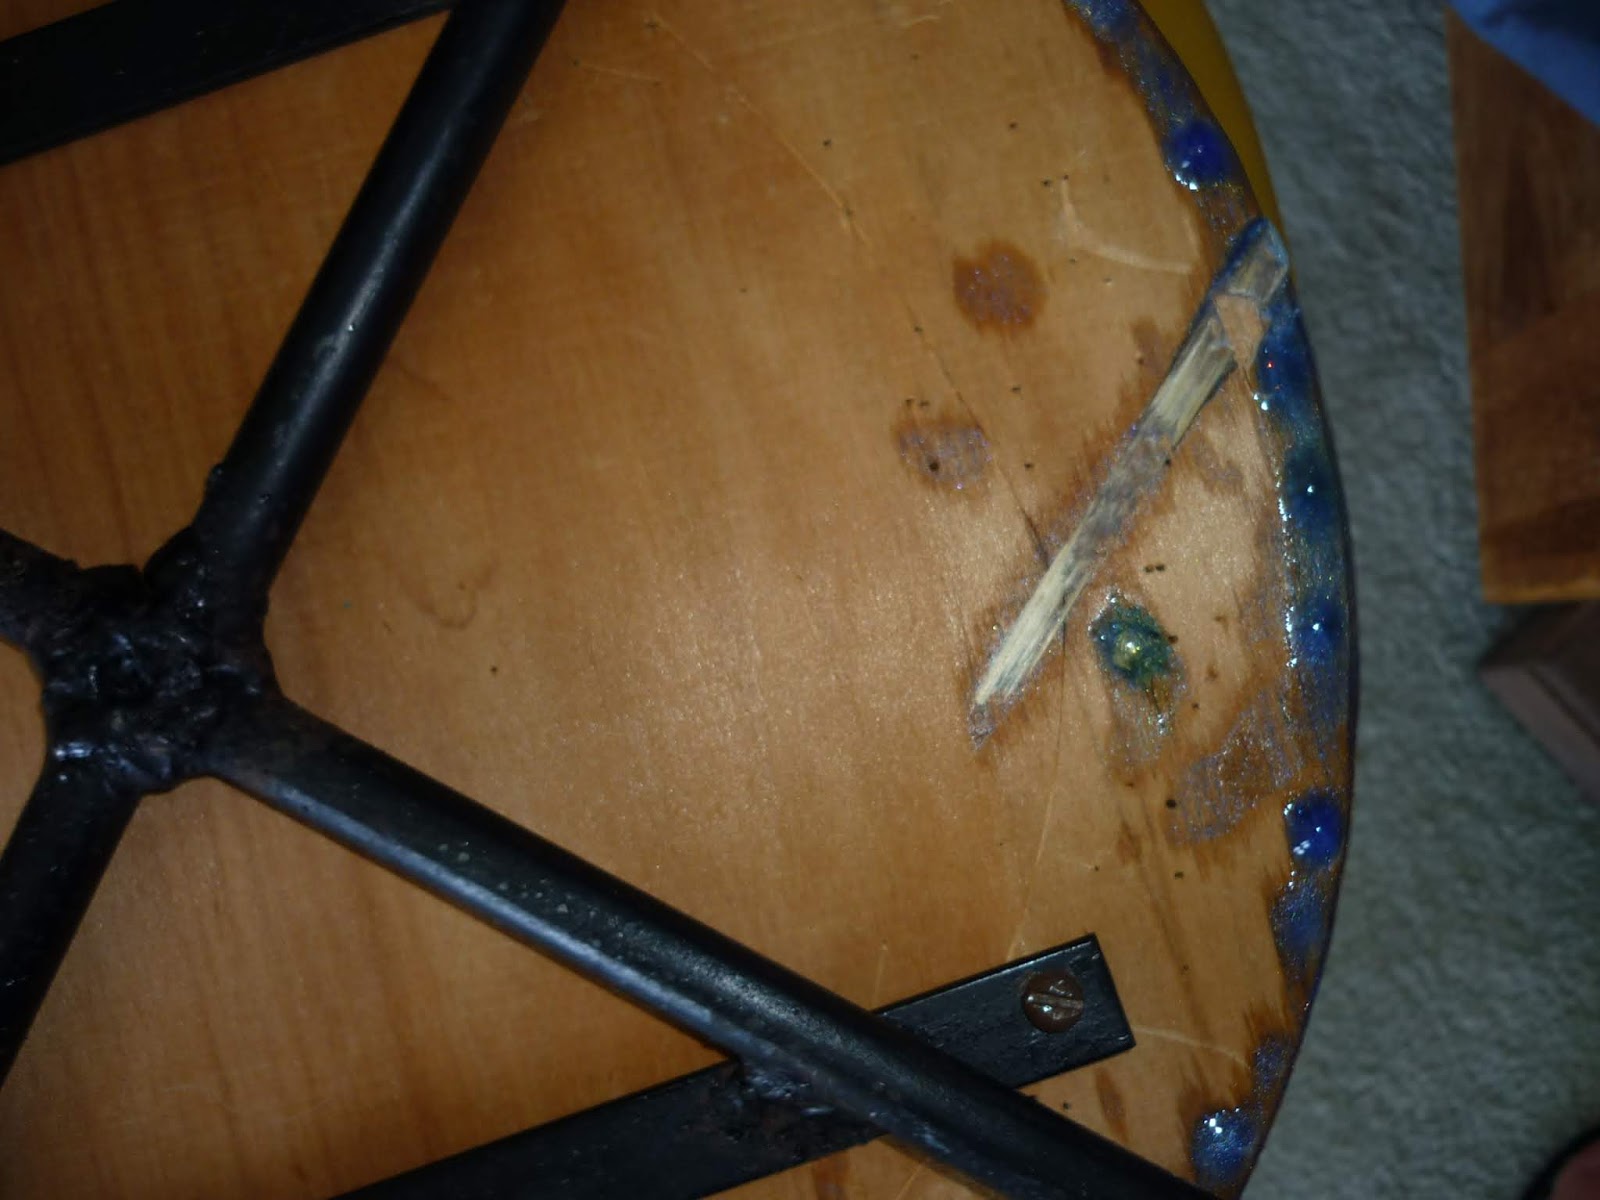
2.) make sure that whatever you use to elevate the piece goes into the center.  The sticks that I used adhered to underside and I had quite the time cutting them off this morning.

Not a great finished look and I will not make that mistake again.
3.) Make sure your piece is well sanded and next time I will paint or clean it up well.  You can see the wood grain and the rough edges of the wood.  The resin was to clear to cover up all the little imperfections.  Although that may be an advantage in the right application.

You can feel the un-sanded edges.

All in all it turned out beautiful and I am looking forward to doing another fixing the mistakes I made on this one.  I looks great between the morning chairs in the sitting room and a perfect size to hold a couple of coffees.

Looks great next to the new peacock chairs.


A fun and pretty side table.


Mom's Little Monsters.

 I've been having a ball making Mom's Little Monsters on days that we are not renovating Tyler's shop.   Lurch Lurch in his butl...